Best Yoga Poses for Beginners: A Simple Start
Beginner Yoga Flow Builder
Mountain Pose (Tadasana)
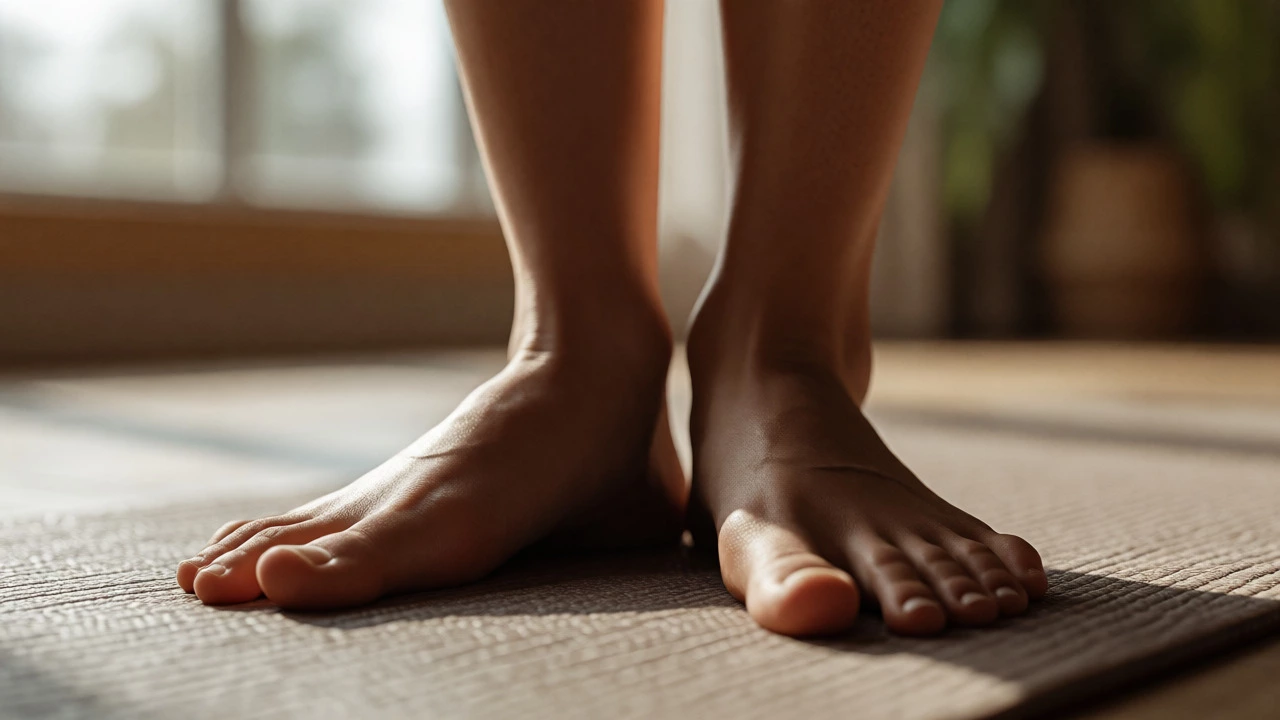
Stand tall, feet together or hip-width apart.
You walk into a studio or open a YouTube video, and suddenly everyone else seems to be folding themselves into pretzels while you’re struggling to touch your toes. It’s intimidating, right? But here’s the truth nobody tells you: the best yoga pose for beginners isn’t some advanced acrobatic feat. It’s usually the simplest one in the room.
If you’re just starting out, trying to jump straight into headstands or complex twists is a recipe for frustration-or worse, injury. The goal for a new practitioner isn’t flexibility; it’s stability and breath awareness. You need poses that teach your body how to stand, how to breathe under light tension, and how to relax without falling asleep. Let’s cut through the noise and look at the actual moves that build a solid foundation, not just look good on Instagram.
The Foundation: Why Simplicity Wins
Most beginners make the mistake of thinking yoga is about stretching. It’s not. It’s about alignment and control. When you pick a pose that is too hard for your current level, your muscles tense up to protect you from pain, which blocks the very relaxation you’re looking for. You want poses where you can hold the shape comfortably for five to ten deep breaths without shaking or holding your breath.
This approach builds what instructors call "proprioception"-your body’s ability to sense its position in space. Before you can balance on one leg, you need to know exactly where your feet are on the floor. That’s why we start with standing poses and gentle seated stretches. They are low-risk, high-reward entry points that connect your mind to your movement patterns.
Tadasana (Mountain Pose): The Most Underrated Move
It sounds like a joke, doesn’t it? "Just stand there." But Tadasana, commonly known as Mountain Pose, is the blueprint for almost every other standing posture in yoga. If you get this wrong, everything else falls apart.
In Mountain Pose, you aren’t just slouching against a wall. You actively engage your legs, lift your kneecaps slightly, roll your shoulders back, and lengthen your spine. It teaches you how to distribute weight evenly across both feet. For beginners, this is critical because most of us carry tension in our hips and lower back due to sitting all day. By resetting your neutral spine here, you create a safe base for future movements.
| Body Part | Action | Common Mistake |
|---|---|---|
| Feet | Toes spread wide, weight balanced | Curling toes or leaning forward |
| Knees | Slightly lifted, not locked | Hyperextending knees backward |
| Hips | Neutral pelvis | Poking butt out (anterior tilt) |
| Shoulders | Down and back | Hunching near ears |
Child’s Pose: Your Safety Net
If you ever feel overwhelmed, dizzy, or tired during a practice, drop into Child’s Pose (Balasana). This resting pose is non-negotiable for beginners. It gently stretches the lower back, hips, thighs, and ankles while calming the brain and relieving stress.
Unlike many other poses, Child’s Pose allows you to turn inward. In a busy world, having a physical position that signals safety to your nervous system is powerful. If your knees hurt, place a blanket between your calves and thighs. If your forehead doesn’t reach the mat, rest it on a block or two stacked fists. There is no "correct" way to do this other than what feels soothing to your specific body.

Downward-Facing Dog: The Full-Body Reset
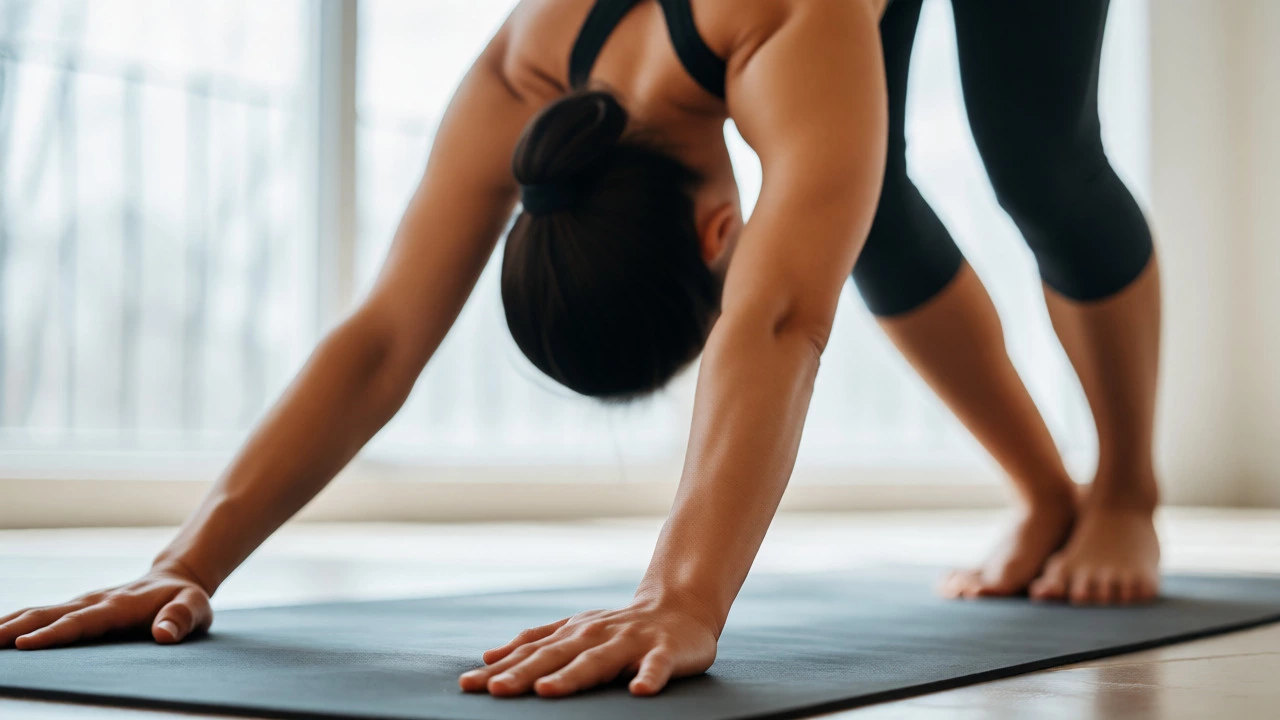
You’ve seen it in every movie. Downward-Facing Dog (Adho Mukha Svanasana) is an inverted V-shape that strengthens arms and legs while stretching the hamstrings and calves. It’s often the first "real" yoga pose people learn, but it’s also the most frequently done incorrectly.
Beginners tend to round their backs excessively because their hamstrings are tight. Here’s a pro tip: bend your knees generously. Seriously, bend them until your spine is long and straight. Press firmly through your hands, spreading your fingers wide like starfish. This protects your wrists and engages your core. Remember, the goal isn’t to touch your heels to the ground; it’s to create length in your spine. Over time, as your flexibility improves, you can slowly straighten the legs.
Warrior II: Building Strength and Focus
Once you’re comfortable with basic standing, move to Warrior II (Virabhadrasana II). This pose builds stamina and concentration. It looks strong and confident, which helps boost mental resilience. You’ll feel it in your quads and glutes immediately.
The key here is hip alignment. Many beginners let their front knee cave inward. Keep your front knee directly over your ankle. Your back foot should press firmly into the outer edge. Gaze over your front hand. This pose teaches you to find ease within effort-a core principle of yoga. If your shoulders creep up toward your ears, consciously draw them down your back.
Cat-Cow Stretch: Waking Up the Spine
Before you tackle any serious bending, you need to lubricate the spine. Cat-Cow Stretch (Marjaryasana-Bitilasana) is a dynamic flow that synchronizes breath with movement. On an inhale, arch your back and look up (Cow). On an exhale, round your spine and tuck your chin (Cat).
This isn’t just a warm-up; it’s a diagnostic tool. Pay attention to which part of your spine feels stiff. Do you have trouble rounding your upper back? Or does your lower back pinch when you arch? Identifying these restrictions early prevents injury later. Perform this sequence slowly, matching the movement to the rhythm of your breath. Five rounds are usually enough to wake up the nervous system.
How to Build Your First Routine
You don’t need an hour. Ten minutes is plenty if you’re consistent. Here is a simple flow combining the entities above:
- Start in Mountain Pose (1 minute): Connect with your breath.
- Cat-Cow (5 rounds): Warm up the spine.
- Downward Dog (5 breaths): Lengthen the back body.
- Step forward to Warrior II (Right side, 5 breaths): Build strength.
- Return to Downward Dog (3 breaths): Rest briefly.
- Step forward to Warrior II (Left side, 5 breaths): Balance the body.
- Child’s Pose (1-2 minutes): Cool down and integrate.
Notice the pattern? Effort followed by rest. This alternation keeps your heart rate manageable and prevents burnout. Consistency beats intensity every single time. Doing this three times a week will yield better results than doing one intense session on Sundays.
Common Pitfalls to Avoid
Don’t compare your Chapter 1 to someone else’s Chapter 20. Yoga is highly individual. Your bone structure dictates your range of motion more than your flexibility does. Some people physically cannot do full Lotus pose due to hip socket shape, no matter how much they stretch.
Also, ignore the urge to force a pose. If you feel sharp pain (not dull discomfort), stop. Sharp pain means something is wrong. Dull discomfort or a stretching sensation is usually fine. Use props! Blocks, straps, and blankets are not signs of weakness; they are tools that help you align correctly. Using a block under your hand in Triangle Pose, for example, ensures your chest stays open rather than collapsing forward.
Do I need to be flexible to start yoga?
No, absolutely not. Flexibility is a result of yoga, not a prerequisite. In fact, tight muscles often benefit the most from yoga because they have the most room to improve. Starting with beginner-friendly poses like Mountain Pose and Child’s Pose allows you to build mobility gradually without strain.
How often should a beginner practice yoga?
Consistency is key. Aim for short sessions, such as 10-15 minutes, three to four times a week. Daily practice, even if it’s just five minutes of breathing and stretching, is better than one long session once a week. This frequency helps your body adapt to new movement patterns safely.
What if I can’t touch my toes in Downward Dog?
You likely won’t, and that’s okay. Tight hamstrings are common. Instead of forcing your heels down, bend your knees significantly to keep your spine long and straight. The priority in Downward Dog is spinal extension, not hamstring flexibility. As your practice progresses, your heels may naturally descend closer to the floor.
Is yoga suitable for older adults or those with injuries?
Yes, yoga is highly adaptable. However, if you have existing injuries, consult a healthcare provider first. Look for classes labeled "Gentle," "Restorative," or "Chair Yoga." These styles use props and modified poses to reduce impact on joints while still providing benefits like improved balance and circulation.
What equipment do I need to start?
All you really need is a non-slip yoga mat. Comfortable clothing that allows movement is recommended. While props like blocks and straps are helpful, you can improvise with books or towels initially. Invest in quality gear only after you’ve established a regular habit.